Life

Professional manicures are a fantastic little luxury, but time and budget constraints sometimes make them impractical. Thankfully, the world of DIY manicures has come a long way in recent years, and the best offerings under the #DIYMANI tag look practically professional. While trying to maneuver a tiny paintbrush with your non-dominant hand may never be particularly easy, there are plenty of nail polish hacks that can help you make the manicure process — and its inevitable clean-up — a little less intimidating.
Whether you just want to help your manicure dry more quickly and cleanly, or you’re ready to dive into the wild world of nail art, these nail polish tips will make your DIY nail care a little less messy and time-consuming. Because, despite what past experience says, it’s possible to paint your nails without having extra polish stuck all around your fingers.
With a little help from ice water, carefully deployed nail polish remover, and even sparkly topcoat, there are many tricks to make your at-home manicures downright luxurious. Once you master a few of these tips, you may not need a nail salon for quite some time. Read on and get ready to rock some top-of-the-line mani action.
1
Lotion Your Nails
Do you wind up painting half your finger with every brush stroke? Try out this tip from Buzzfeed and line your cuticles, and the skin around your nails, with heavy lotion. The polish won't stick to that, and you can quickly clean up with an orange stick. Voila! Mess-free nails.
2
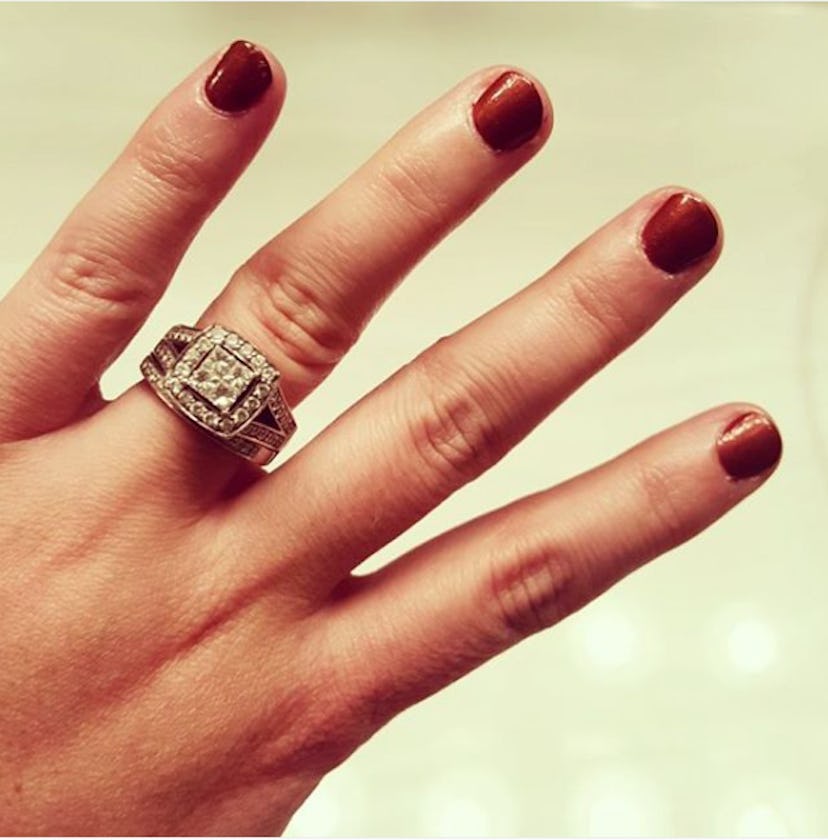
Camouflage Chips
If your nail polish starts to chip before you're ready for a brand-new manicure, Allure suggests layering glittery polish over it. This helps refresh your manicure, disguise chips, and add a little sparkle to your day.
3
Start Clean
To make your mani last as long as possible, Glamour recommends you start with a clean slate — or in this case, nail. Get rid of any lingering lotion or oils by swiping an acetone-soaked pad over your nails right before applying the base coat.
4
Layer It On

I often slap on way too much polish that takes forever to dry, which is not the best way to achieve maximum mani potential. To avoid smudges or bubbles, InStyle says you should work in thin layers and slowly build up your color slowly.
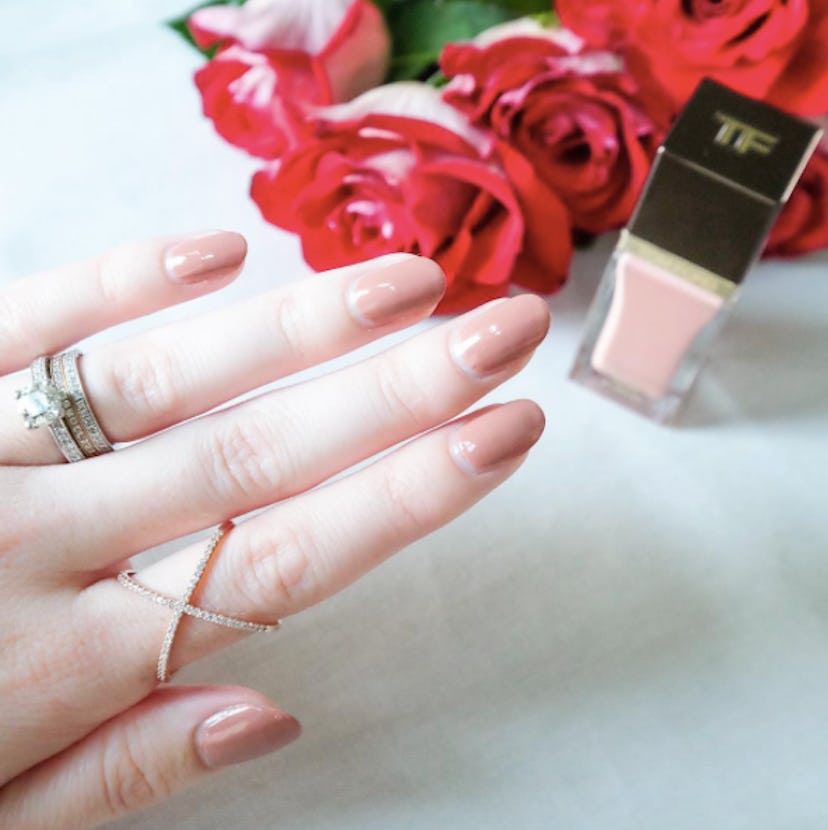
5
Go To The Edge
To ward off future chipping, Today recommends you cap the free edge of the nail, or take your polish over the edge of your nail. This tiny extra step can help your manicure last a little longer.
6
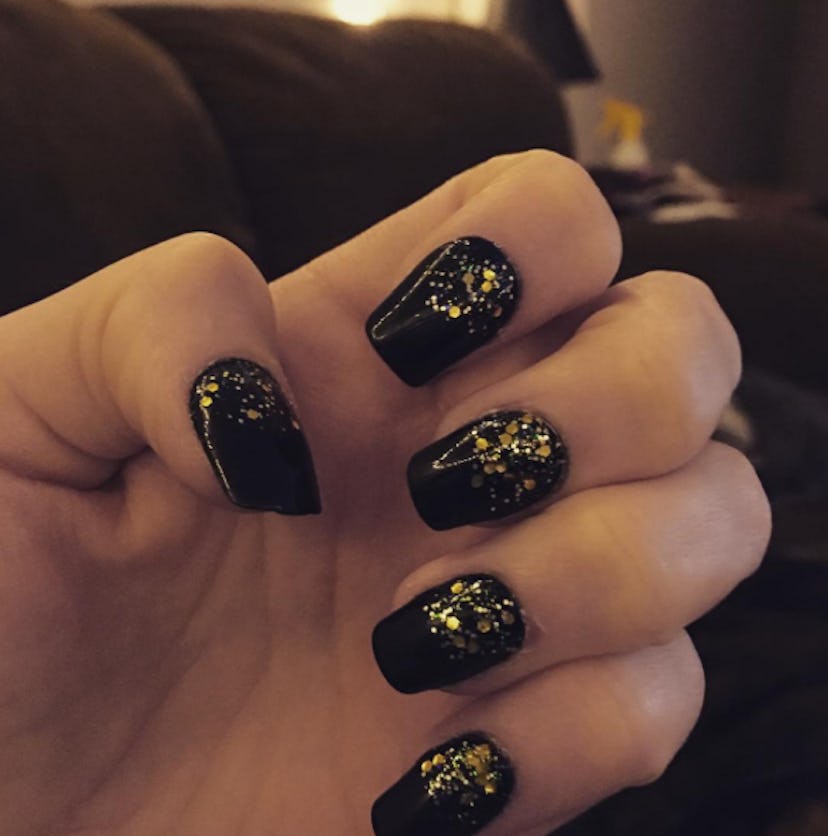
Double Down On The Sparkle
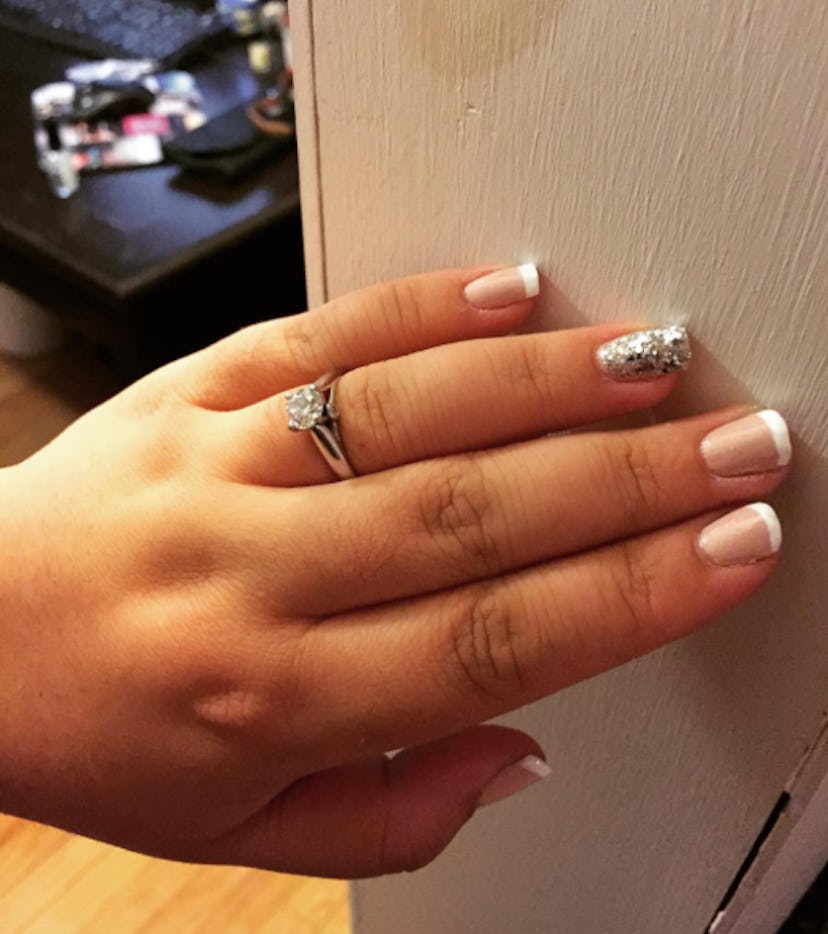
If your accent nail needs an extra dose of glitter, follow this advice from Self and apply a shimmery topcoat over your glittery nail polish. The topcoat helps protect your hard work from damage, and a little extra sparkly never hurt anybody. Go big or go home, right?
7
Ice It Down
Can't wait on that polish to dry? Take a cue from Cosmopolitan and soak your freshly painted nails in ice water for a few minutes to speed up the drying process. A few minutes of chilly fingers can mean a lasting manicure.
8
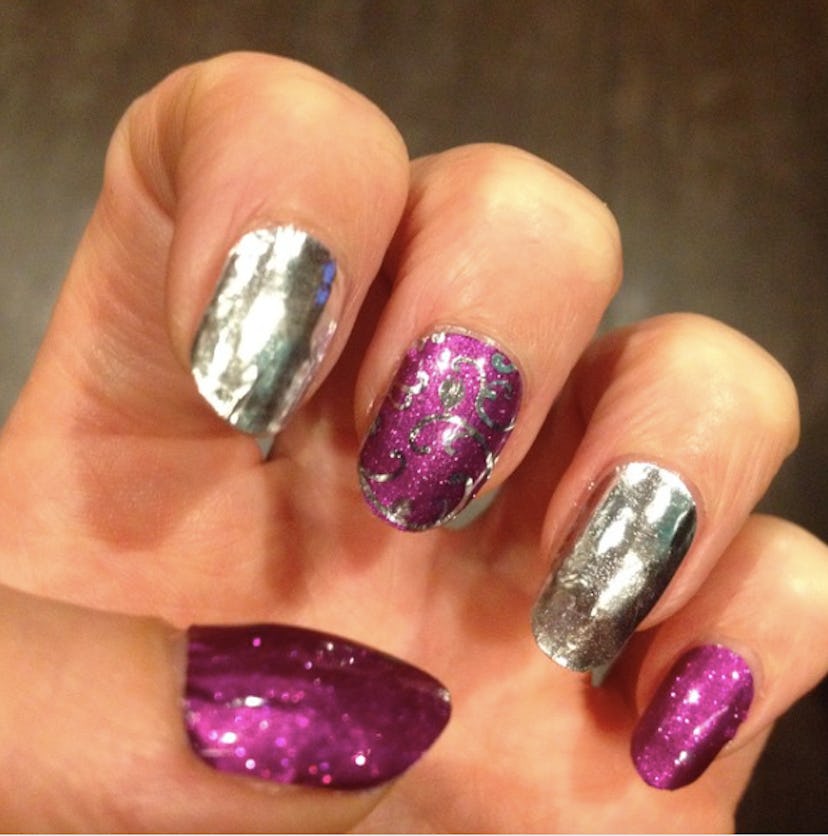
Stamp It Out
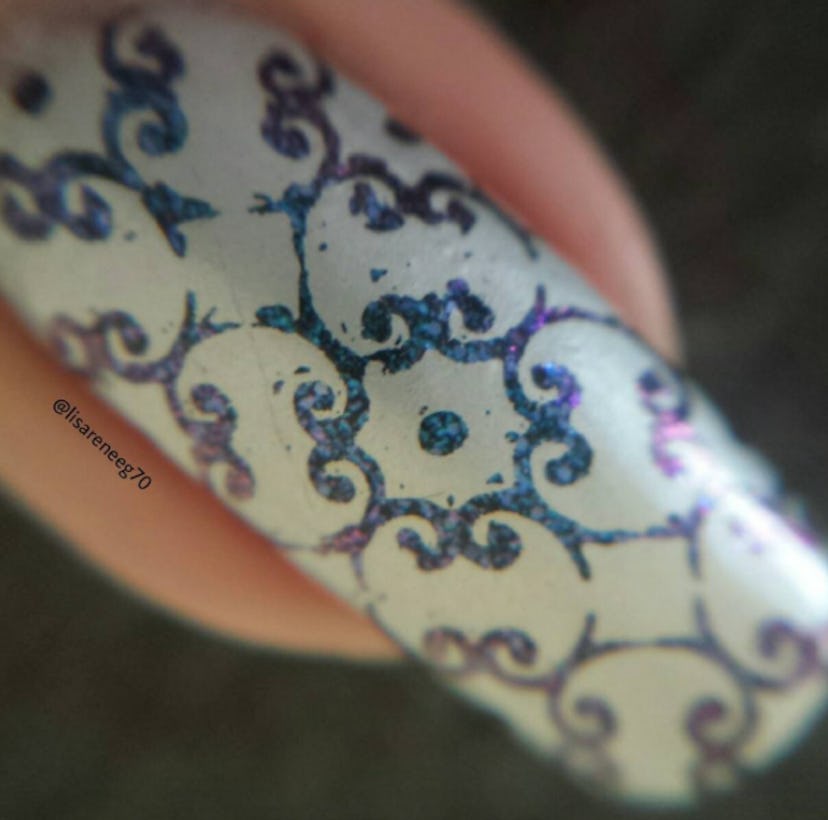
If you love nail art but lack the ability to apply polish with such surgical precision, Total Beauty suggests you try nail stamping. This simple process is an easy way to get intricate nail designs without a ton of effort.
9
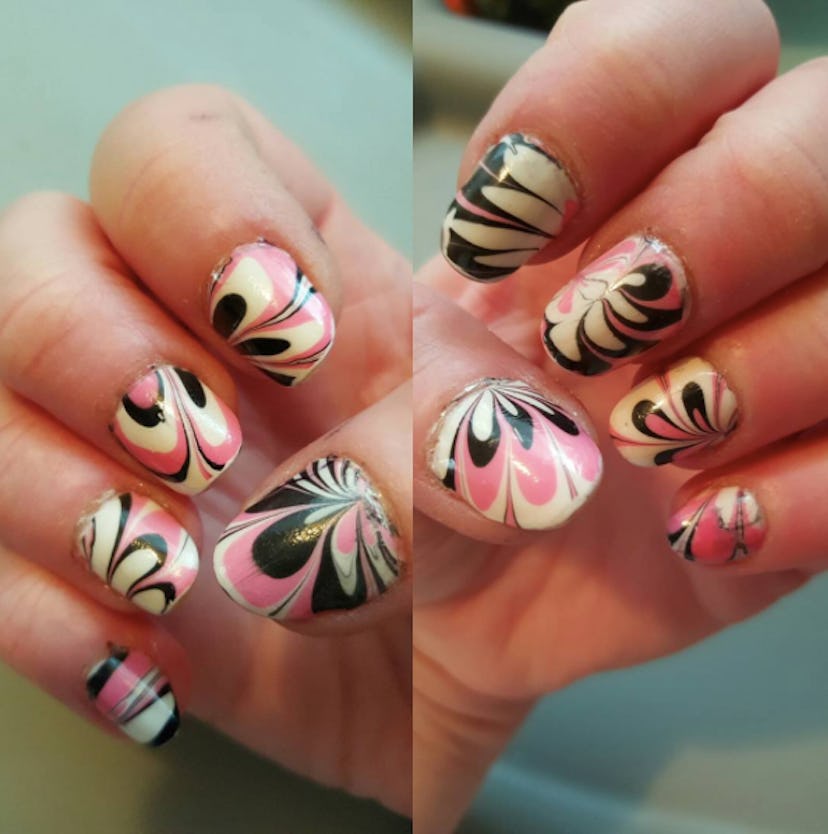
Lend A Helping Hand

Trouble painting with your non-dominant hand? Marie Claire suggests you hold the brush still and move your dominant hand to apply the polish. Because you're still making your more talented hand do all the work, you can likely get cleaner results with this method.
10
Stay Bright
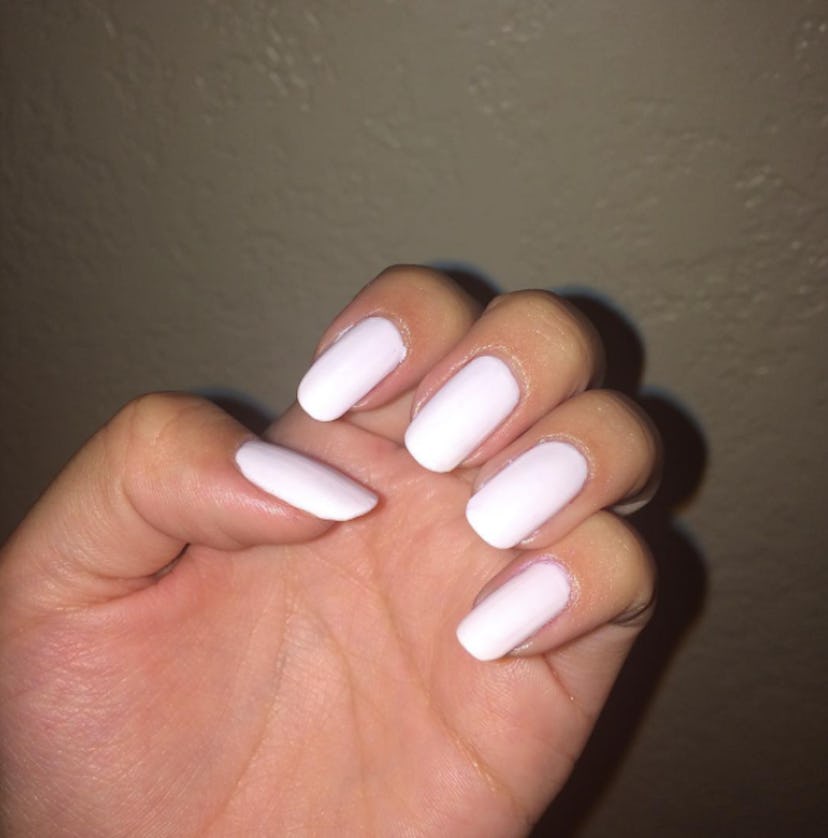
Does your polish pop in the bottle but look dull on your nails? If so, Elle recommends adding a thin layer of white nail polish before using your color of choice. This will help any color really stand out on your nails.
11
Straighten Out A Smudge

Don't you hate it when your fresh mani is all set to go and you just happen to bump your hand against a table? Insta-smudge. But Real Simple has a remedy. Just quickly dampen another finger in nail polish remover and gently smooth over the smudged part. And, voila, your nails are ready for a night out.
Images: James Lee / Flickr; Courtesy of morganlschadegg, cat_right_meow, sar_ah210, polishedandbubbly, veraglam, amandaroseb13, mrs_rsymes, lisareneeg70, nailspa_arnold, myfabnails_, tracytran0303 / Instagram
