Easter
All The Tips & Tricks You Need To Dye Beautiful Easter Eggs
All your egg-dyeing questions, answered. (Like, how much vinegar are you really supposed to use?)
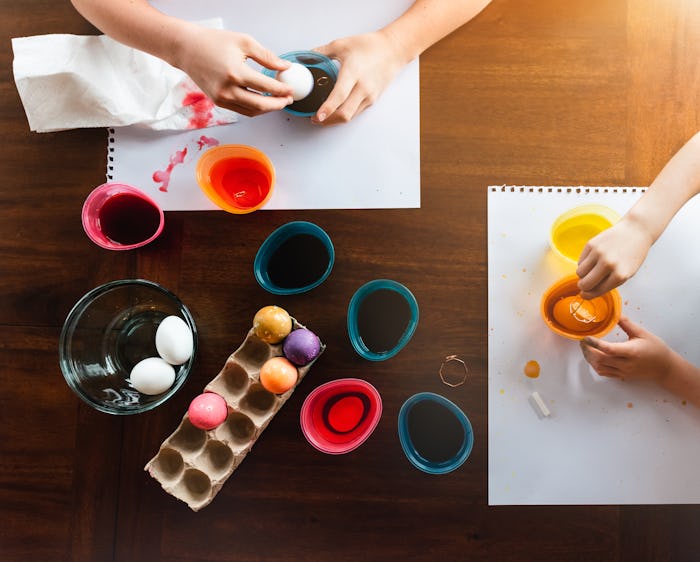
As messy as it is, dyeing eggs with your kids is basically a parenting rite of passage — maybe even more fundamental than the actual egg hunt. At some point, your kids will beg you to do it, so you might as well learn the best ways to do it, right? These tips and tricks for dyeing Easter eggs will make the process as streamlined as possible. (So much, in fact, that you may actually enjoy yourself.)
You know the basics — food coloring, vinegar, hot water. But knowing how much vinegar to use, how many drops of food coloring you need, or how long to boil your eggs before dyeing can be tricky. There is also the elusive Kool-Aid dyeing method and post-dye decorations to consider. Before you decide which route to go, take a look at these helpful hints to make sure that you set yourself up for egg-dyeing success.
How To Prep Your Eggs
While most people stick with hard-boiled eggs for dyeing purposes, others prefer to remove the contents of their eggs before dyeing. (Mostly so they won’t stink or spoil if you hide them outside.) No matter which route you take, you’ll need to make sure to prep your eggs in advance, but the timing will depend on whether you’re boiling or blowing.
- Stovetop Hard Boil: Knowing how long to boil your eggs makes a difference. After all, you don’t want to end up with a partially runny egg yolk seeping through unintentional cracks in the shell. Although you’ll find different advice all over the web, the general consensus points to 12 minutes as the ideal time to achieve a hard-boiled egg that isn’t likely to crack open on you. Cover your eggs with tap water in a large pot, and leave at a rolling boil on your stovetop for 12 minutes. Allow at least an hour for your eggs to cool completely on your countertop before dyeing.
- Instant Pot Hard Boil: The steamer basket of your Instant Pot can also be used to achieve a hard-boiled egg. Add your eggs to the Instant Pot steamer basket and cover with water. Cook at low pressure for 5 minutes, and use a natural release to de-pressurize after the initial 5 minutes is up. Remove eggs from the Instant Pot using a slotted spoon and allow your eggs to cool completely in an ice bath for 5 more minutes. Then, dry your eggs off with a towel and they’re ready to dye.
- Egg Blowing: If you prefer to hollow out your eggs in the hope that they might be able to be used for more than one season, a method known as egg blowing can achieve this result. It can be tricky to do, but this tutorial from Practically Functional shows you step-by-step how to poke pin holes into your egg and blow out the contents. You’ll need to rinse out the shell with soapy water after you have removed all of the contents, and then let dry for several hours prior to dyeing.

Egg Dyeing Methods To Try
Dunking an egg into a cup of food coloring and watching as delightful colors appear on the blank-slate of a white eggshell is such a magical experience when you’re a kid. As you likely know though, this process doesn’t always go as planned. Sometimes you end up with lackluster pastels instead of the bright, colorful eggs you expected.
Each of the following egg-dyeing methods has different pros and cons, but they’ll hopefully give you the gorgeous Easter colors your kids expect to see on their eggs.
- Vinegar & Food Coloring: Being the domestic goddess that she is, Martha Stewart’s egg dyeing recipe using food coloring and vinegar promises to yield some of the most vibrant shades possible. Stir 1 teaspoon of white vinegar and 20 drops of food coloring into one cup of hot water. Sink your egg into a cup filled with this mixture and leave in until your desired color depth is achieved.
- Natural Dye: You don’t actually have to invest in food coloring to dye eggs. You can use color-rich foods already in your kitchen to dye eggs naturally. Ingredients like turmeric, beet juice, and blueberries can be boiled with 2 cups of water and 1 tablespoon of vinegar to create the natural dye. This natural egg dying tutorial from Nellie’s Free Range shows you step-by-step how to create these dyes.
- Kool-Aid: Did you know that your kid’s favorite drink mix can also be used to create beautifully dyed Easter eggs? It’s really simple, doesn’t require any pungent vinegar, and the eggs wind up looking extremely vibrant. Kool-Aid even has a tutorial on their website to create tie-dyed Easter eggs using the drink mix and water.
- Shaving Cream: Another easy egg dying idea to try is the shaving cream method. First, soak your boiled eggs in vinegar for 20 minutes. Next, spread thick layer of plain shaving cream on a sheet pan and drizzle with food coloring. Then, roll your eggs through the mixture and let dry for 20 minutes before wiping clean.
Once your eggs have been dyed using your preferred method, you can let them drip dry by placing them back in the carton or on a baking rack with paper towels underneath to catch any run-off dye.
Helpful Tips & Supplies For Egg Dyeing
After your eggs have been prepped and your dye is ready to go, it’s time to get down to the business of dipping and decorating. Here are some helpful tips to keep in mind:
- Things will get messy. Prep your workspace by putting down a disposable tablecloth, some newspaper, or an old sheet. Use gloves to keep hands dye-free and have your kids wear old clothing that you don’t mind getting messed up or an apron to protect against stains from spills and splashes.
- When you’re transferring eggs in and out of the cups containing your dye, using tongs, a slotted spoon, or a gloved hand is your best bet.
- Any cup that is wide enough and deep enough to submerge your egg fully in the dye will work. However, if you use a plastic cup, be aware that your dye could create some discoloration. Disposable cups or glass works best.
- You don’t have to buy anything special to dye eggs, but the supplies below may be helpful to have on hand:


- Try experimenting with how you dip your eggs. You can hold your egg halfway into the dye for several seconds, let dry, and then dip the other half in a different color to create a two-tone egg. Dip your eggs in multiple colors to create new shades, or try drizzling dye over your eggs or using paintbrushes to create different looks. You can even rub tissue paper or newspaper across freshly dipped eggs to create texture.
- Get creative with your decorating. You can use crayons to draw designs on your eggs prior to dipping them, and the dye won’t stick to the areas where you’ve colored.
- Thin washi tape strips can also be used to create designs with layers of different dye colors. Or, use patterned tape to decorate your eggs after dyeing.
- After dyeing, try adding fun stickers or using permanent markers to decorate.
- Have fun! This is probably the most important tip of all. Dyeing eggs can be messy and even frustrating at times if things don’t go as planned, but at the end of it all, the fun you have and the memories you’ll make are worth it.
This article was originally published on
